


In stock
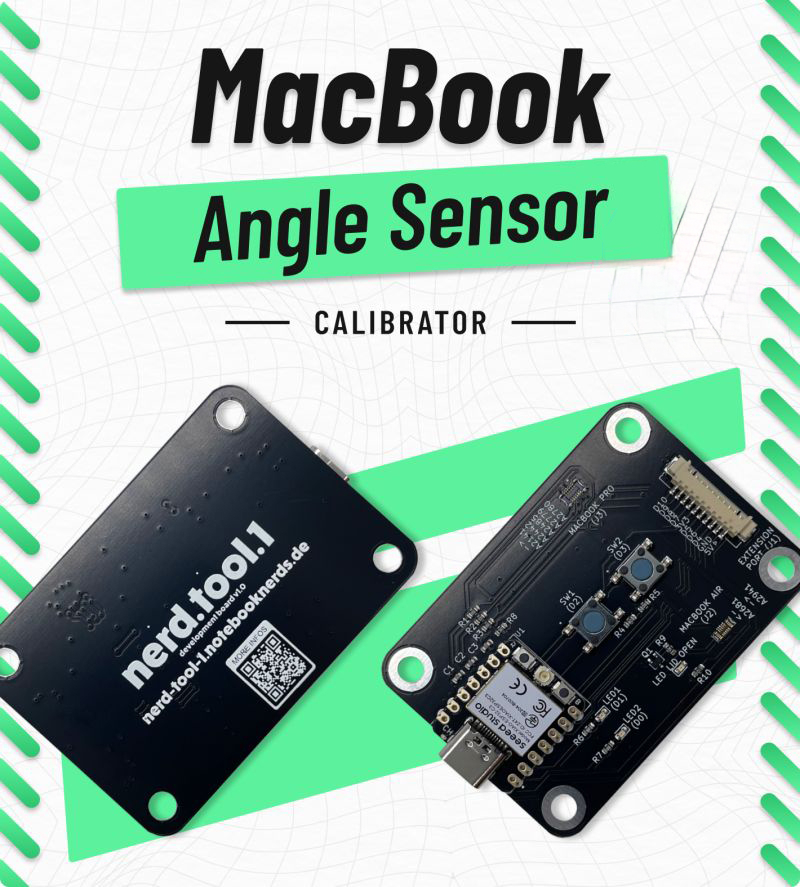
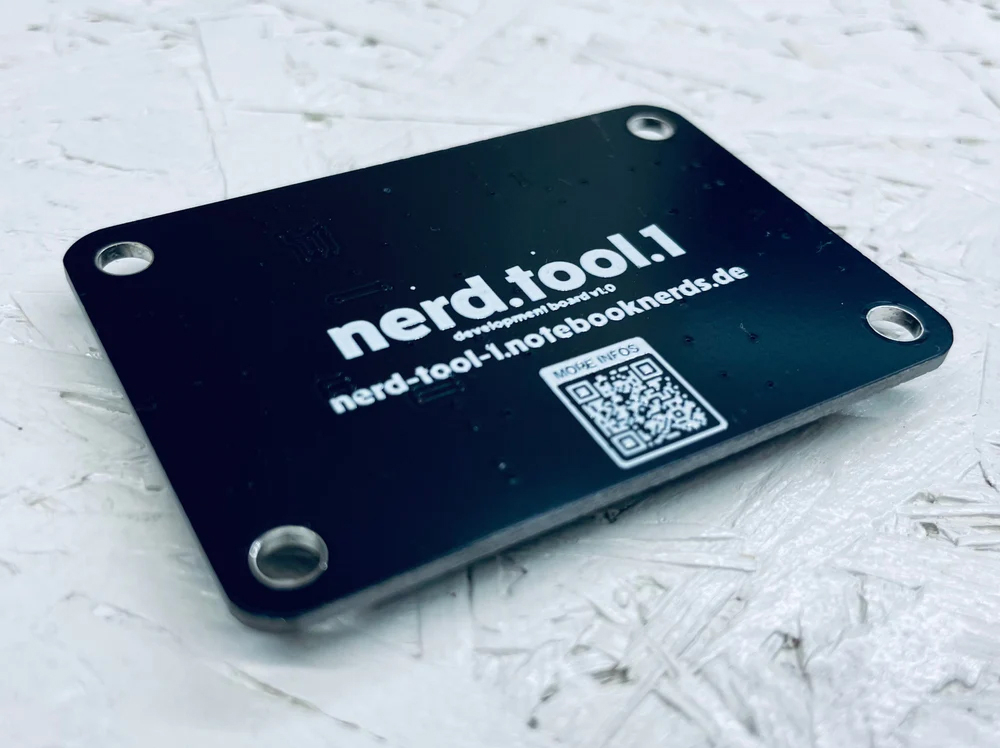
NerdTool 1 MacBook Lid Sensor Calibrator
- SKU
- NN-NRDT1
- New Bin Number
- 1-A3-5A
Copied!
$159.99

-
 Free Delivery Over $350

-
 Same Day Shipping
-
 Secure Payment


- A2442
- A2485
- A2141
- A2681
- A2941
- A2780
- A3113
- A2779
- A2992
- 1) Close the lid of your MacBook completely. Unplug the battery and power supply
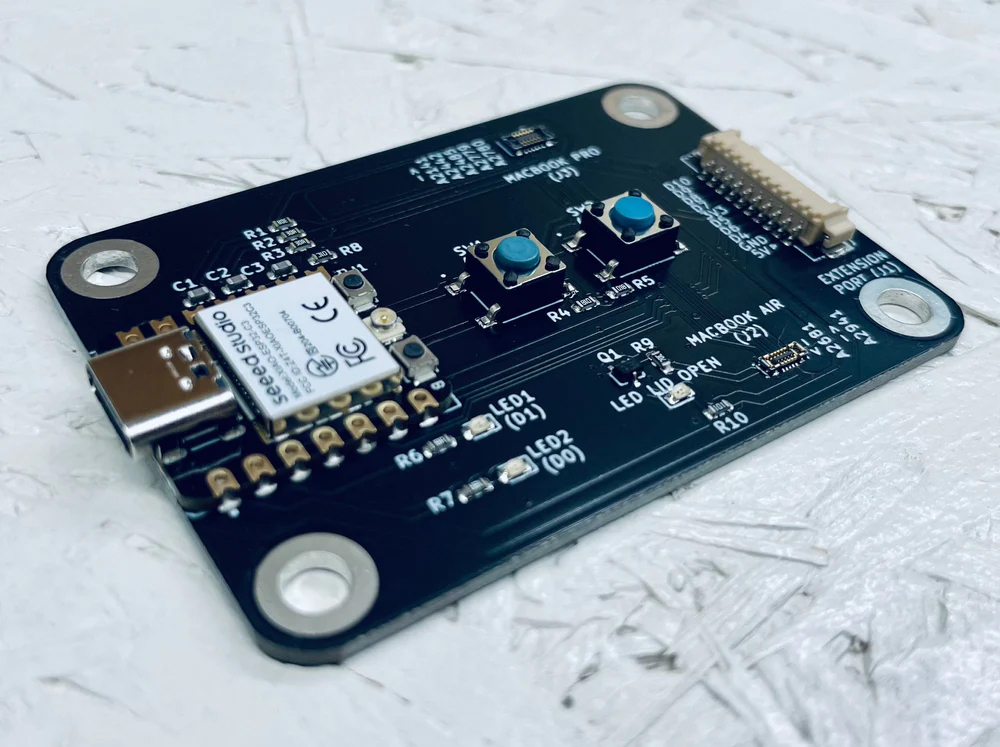
- 2) Assemble the new lid angle sensor to the screen. Connect the lid angle sensor to the nerd.tool.1.>Socket J2 for MacBook Air (MBA) and J3 for MacBook Pro (MBP)
- 3) Booting up & initial check: Plug in the power supply (5 V) to your nerd.tool. 1 to power it up.>A flashing LED2 indicates an operational nerd.tool. 1.
- 4) If LED LID OPEN lights up continuously, it indicates that the sensor needs calibration.
- 5) Calibrating the sensor: Press SW1 for MBP or SW2 for MBA calibration. LED1 will start blinking.>As soon as LED1 lights up continuously and LED LID OPEN turns off, calibration is done.
- 6) You can check the calibration by carefully opening the lid for more than 5 degrees.LED LID OPEN should turn off.
- 7) Close the lid. LED LID OPEN should turn off.
- 8) Saving the calibration: Press SW2 to save the calibration
- 9) Both LED1 and LED2 will blink together twice, indicating successful data transfer and storage.
- 10) Unplug the power supply of the nerd.tool. 1 and then disconnect the sensor.
- Please check the warranty policy for details!
- Same Day Ground or Overnight Shipping


 (Premium) for MacBook Pro 16\" (A2485 / Late 2021) / (A2780 / Late 2023)")


